If you want to Upload files to a document library using Windows Explorer in SharePoint 2010, you will need to add Desktop Experience feature to your Windows Server. If you want to enable Desktop Experience to Windows Server 2012, follow the steps shown as under:
1. Click Server Manager.
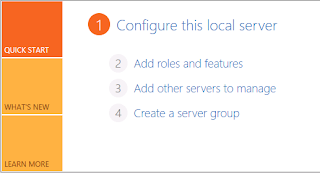
2. Click Add roles and features.
3. You will be prompted with Before You Begin screen. Click Next.
4. Under Insallation Type, select Role based or feature-based installation and click Next.
5. Select the server on which SharePoint is installed from the server pool and click Next.
6. You will see Server Roles. Just click Next.
7. Under Features, scroll down to find User Interfaces and Infrastructure. Expand this node and select
Desktop Experience and click Next. This installation also requires installation of Ink and Handwriting
Services. Finish this wizard and Restart your Server.
8. Now you are ready to use WebDav feature. i.e. You can open a SharePoint library in Windows Explorer.
You can upload multiple files and folders by Copy and Past or Drag and Drop.
Thanks
1. Click Server Manager.
2. Click Add roles and features.

3. You will be prompted with Before You Begin screen. Click Next.
4. Under Insallation Type, select Role based or feature-based installation and click Next.
5. Select the server on which SharePoint is installed from the server pool and click Next.
6. You will see Server Roles. Just click Next.
7. Under Features, scroll down to find User Interfaces and Infrastructure. Expand this node and select
Desktop Experience and click Next. This installation also requires installation of Ink and Handwriting
Services. Finish this wizard and Restart your Server.
8. Now you are ready to use WebDav feature. i.e. You can open a SharePoint library in Windows Explorer.
You can upload multiple files and folders by Copy and Past or Drag and Drop.
Thanks
No comments:
Post a Comment